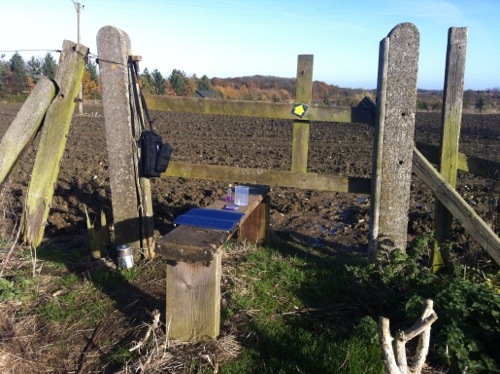
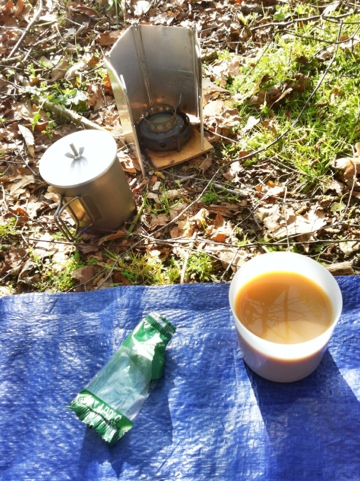
REI Sierra cup and lid
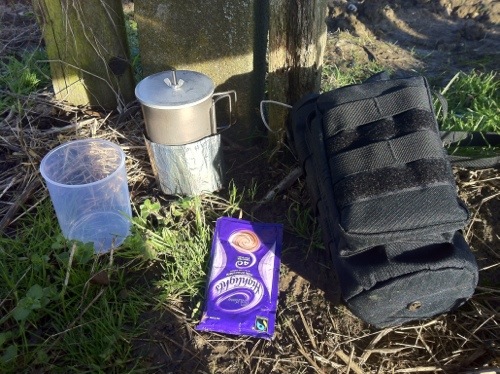
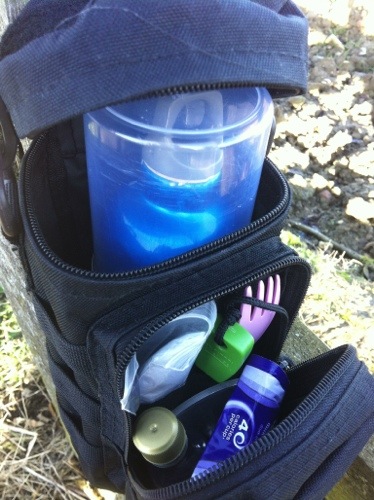
I recently got an REI Sierra cup with a folding handle from the USA. It is a great, compact cup to take camping, but I was interested in getting a lid for it to add to the functionality and to keep the flies out of my tea.
I have had two lids made for me, one for my MSR titanium mug and the other for my Crusader mug.
I may get a custom lid made later, but for now I was looking for a purchased option.
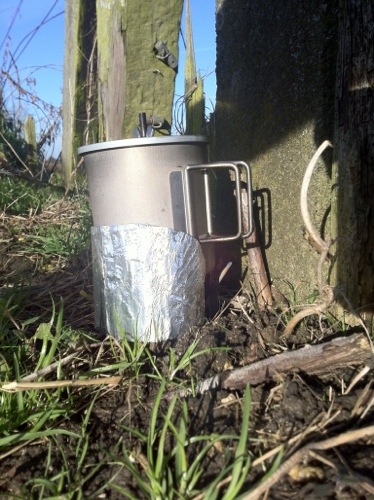
The Sierra cup lid, because of the folding handle, needed to be an internal lid with no lip, or have a notch cut out of the lip for the handle. So what I needed was really just a metal disk with a hole for a handle drilled in it. On searching online I realised that the base from a cake tin with a removable base would be ideal, although I could not find one small enough in a UK shop. With that as a plan, I decided to visit some of the local kitchenware shops and in the second one, I went to, I found exactly what I needed.

This is the removable base from a 12cm cake tin, from The Range, with a hole for a wing nut and bolt.
REI Sierra Cup with a homemade lid

The lid sits neatly inside the cup rim as though it was made for it. Having a lid will make it more fuel efficient if I use the Sierra cup to boil water in. I am forward to testing it this weekend on a day walk on Sunday – I will boil the water for my tea break in it.
One small point: I had to use a file to smooth out a few sharp edges on the handle ends where the metal had been flattened to stop it pulling out.
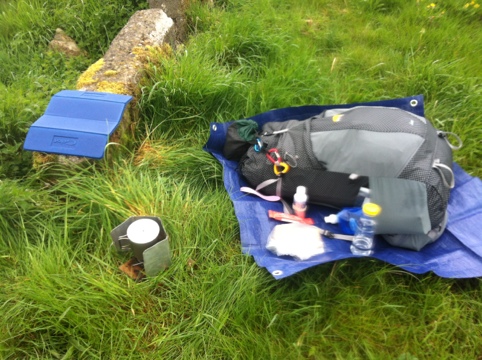
This is not ultra lightweight backpacking kit but it is something I will be taking camping.
REI Sierra cup and lid Read More »