I took the original shot with the Pro HDR app, on my iPhone 4. I prefer the HDR (High Dynamic Range) results from this app over the Apple camera app, the results are more dramatic. However for the best results from Pro HDR two things have to be considered.
- The camera must be held as still as possible – Pro HDR goes through a sequence of several seconds to detirmine the required exposures and then takes two shots with about a second between them. If you move too much the combined image will be ruined.
- If there is a lot of movement in the subject you are photographing then the delay described above with spoil the results.
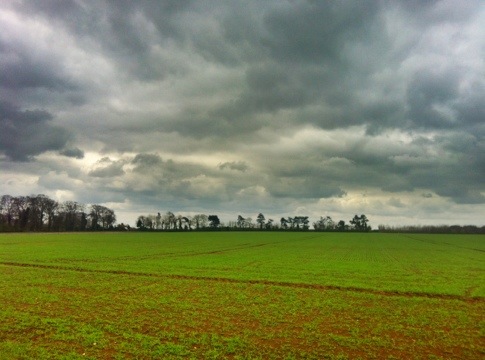

Once the picture is taken you can adjust several image qualities before saving the picture – I increased the colour saturation.
I then imported the image into Photogene2 for more editing – having tried a number of editing apps for my iPhone I particularly like Photogene2, it is easy to use, with a well thought out interface, based on “dial a function”, so you can find the effect or tool you want very quickly.

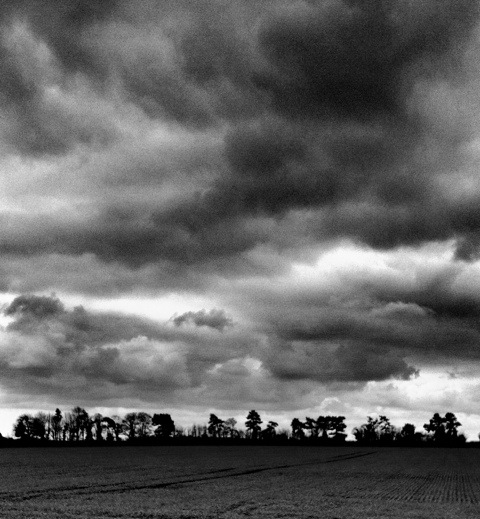
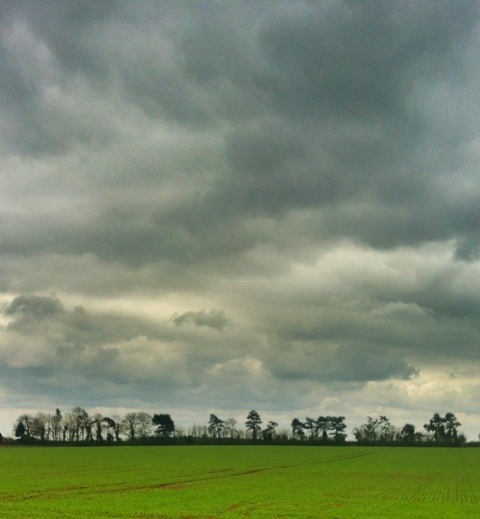
I cropped out a section of the original image – I included a large section of the clouds that I was interested in and less of the green field. I also cropped for the distinctive line of trees, loosing the hedge and the larger trees.
I then applied the “simple black and white” effect.

To get the results I wanted, I increased the exposure and the contrast.

The final thing to do is to save the finished image to the Camera Roll and post it to my blog.
Note – during the process the save the intermediate images as I make changes, so if I am unhappy with any of the results I can back up and try again.