The Sea to Summit Travel Day Pack has, since last summer, become my walking day pack of choice.
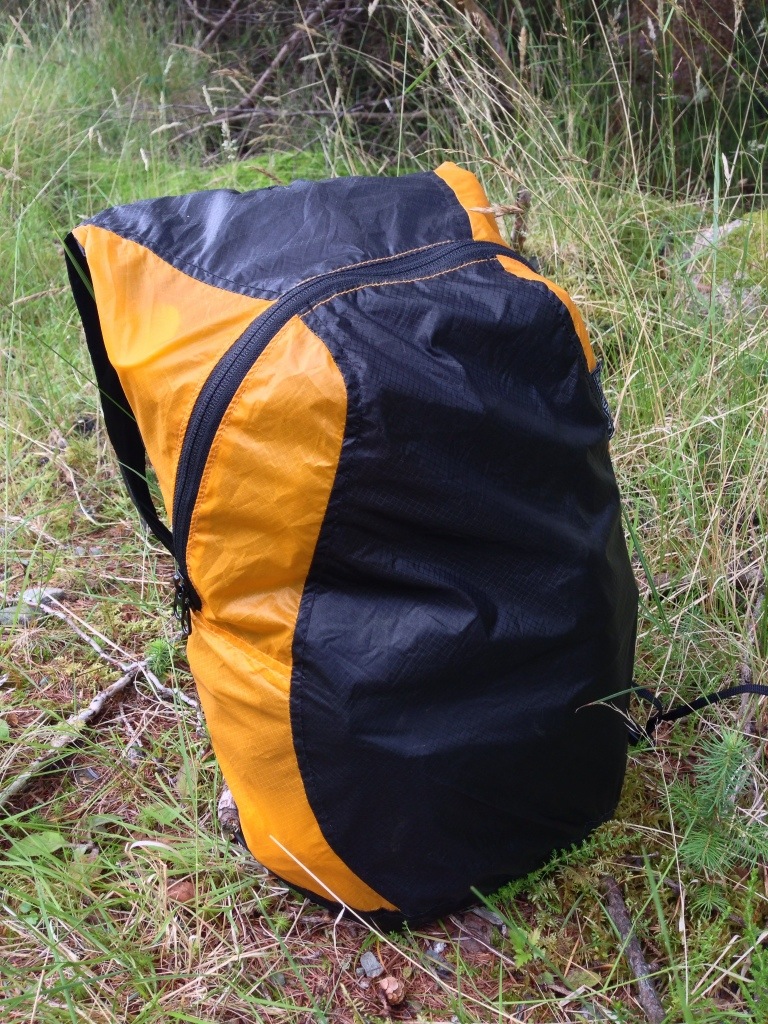
It packs away into a keyring size package making it excellent as an extra bag for backpacking, holidays and travelling. I started using it as my day pack to simply save weight.
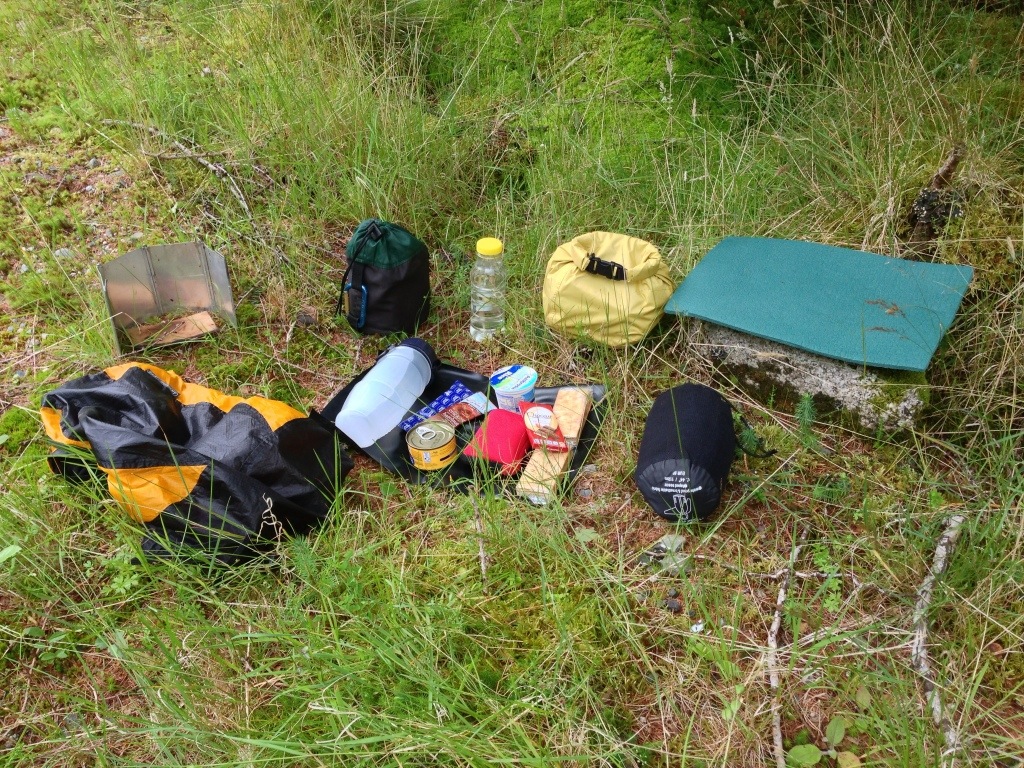
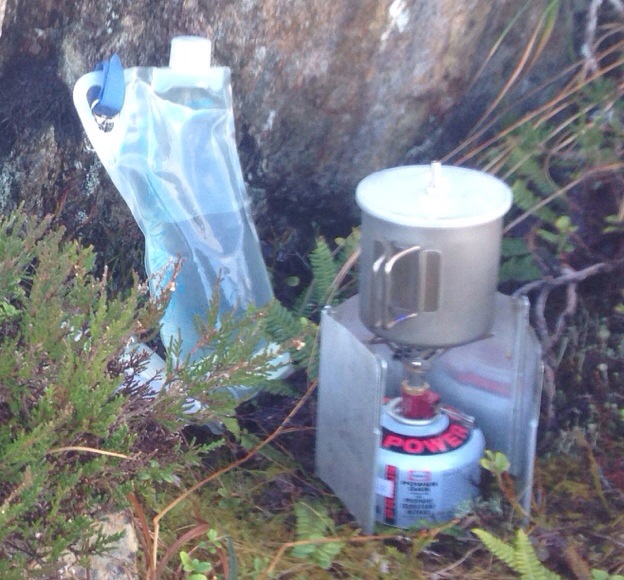
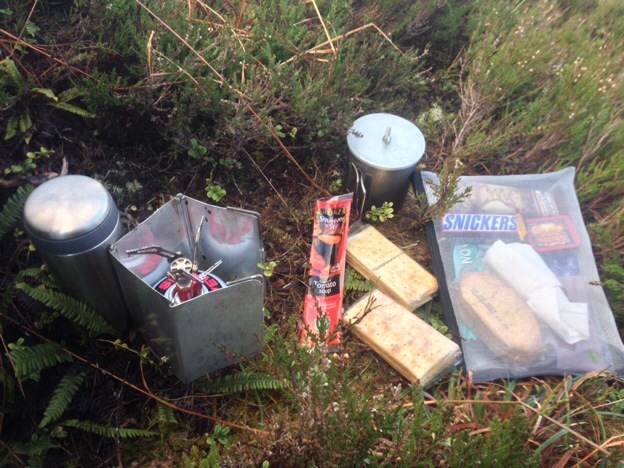
In use Scotland August 2013
The 20l capacity provides enough space to carry my:
- Waterproofs
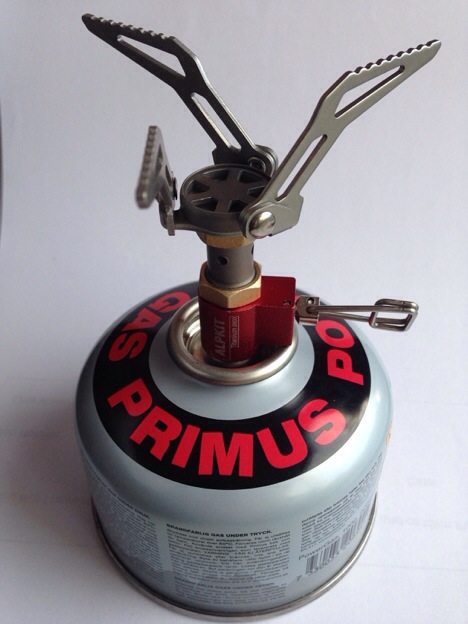
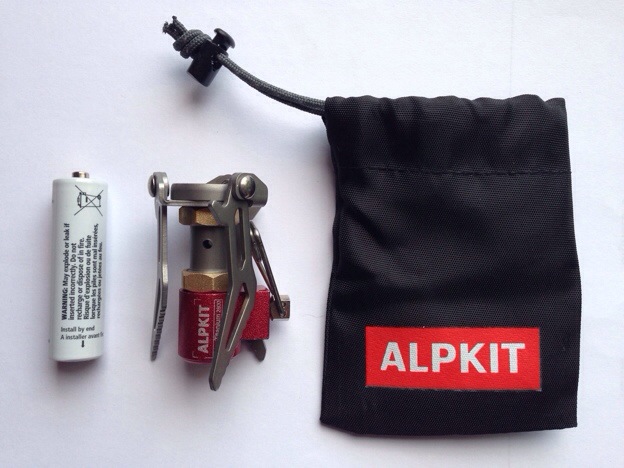
- Pot, stove and mug
- Lunch and water
- Extra warm clothes
- First Aid Kit
- Emergency equipment
- Sit mat (back padding)

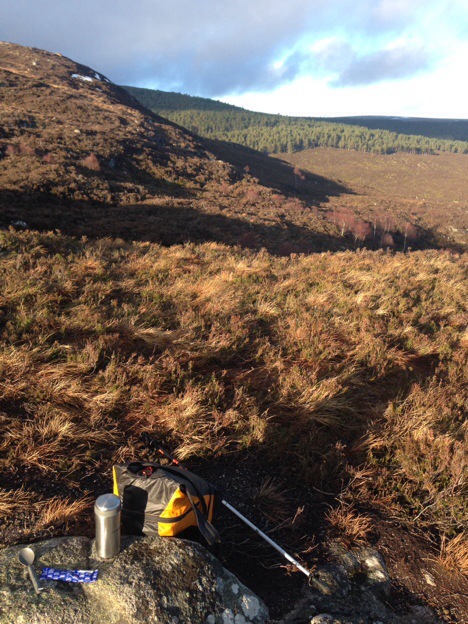
In use Scotland January 2014
The only time this is not my “go to” day pack is when I need to carry a walking pole. For short walks I can slide my lightweight pole in between the small of my back and the pack, letting it ride on the bottom of the straps. For more technical longer walks with a pole I use another bag.
Comfort
With such a light backpack there are some issues with the comfort – but these are not so great to stop me using it.
- Because the bag has no structure I have to pack the it carefully so the items stay in place and so nothing sticks into my back.
- To help with the above problems I have cut a section from an old sleeping mat so that when it is fitted into the back of the day pack it helps with giving some shape to the bag and pads my back a little.
- The shoulder straps are unpadded so from time to time whilst walking I have to flatten them out and reposition them on my shoulders to support the weight.
Mods
I have added a couple of small caribieners to the ends of the very thin shoulder straps. This has stopped the straps being pulled back into the buckles, which happened a lot when walking with the pack with even a moderate load in it. Once the strap was back in the buckle it was then very awkward to adjust the shoulder straps for comfort and there was also a risk of the strap being pulled right out if the buckle.

I have also added a caribiener to the double zip for security.

Inside you can see an 8l dry sack – this is essential as the pack does leak in heavy weather
Wear and tear
The Sea to Summit Travel Day Pack is made from rip stop Siliconized Cordura® and the pack itself is very well made, making it extremely tough and strong. However I use the bag (particularly in the winter) well packed and this has led to some abrasion damage. When well packed the material is tight, with no give in it and when it had dragged against rough rocks it has been damaged. At the moment none of the damage is serious but I expect it to happen regularly and to eventually ruin the bag.


The shoulder straps now have permanent heavy creases in them through use.

A bag for work
A few weeks back I used this pack for an overnight business trip. It easily held the clothes, wash kit, paperwork, iPad, charger, cables, small toolkit and portable hard drive I needed for the job. I added to that a bottle of water and a snack or two for the journey.
With the mat slipped in the back it was comfortable to carry and easy to store on the train as well as being smart enough to turn up with at a client’s office.
Conclusion – Sea to Summit Travel Day Pack
For me the Sea to Summit Travel Day Pack is a great day pack and I would recommend it to anyone who wants a light, strong day pack. But remember it is a simple no fuss design, no extra pockets or straps and if you use a hydration bladder the crinkling tube has to come out through the zipper. Because of it’s packed away size and weight it is especially useful to carry as an extra bag when travelling – if needed I add it to my backpacking equipment to be used as a shopping bag.
The minus points have to be mentioned:
- The bag has no structure – if I carry my iPad in it I have to take extra care not to damage it due to bad packing.
- if the bag is packed full and tight it is susceptible to abrasion damage.
- There are no external fittings for a walking pole.
If (when) I ruin this bag I will buy another.